


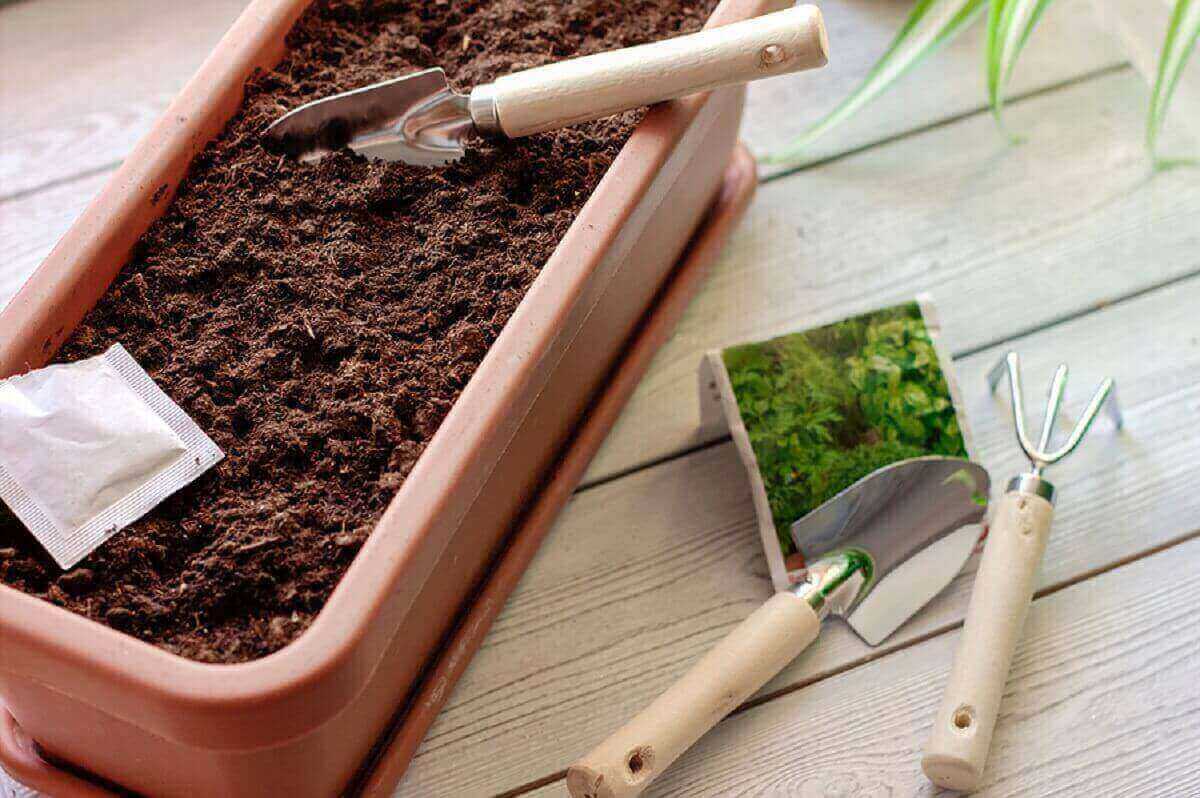
To support the growth of your cannabis plants, you need to apply fertilizers and supplements. Fertilizers will enhance leaf, stems, and root growth and will improve bud production and bud density. You can apply fertilizers during the vegetative or growing stage or use fertilizers meant for the flowering stage for cannabis growing success.
Most growers will recommend commercially –made fertilizers and plant food and at the same time use natural fertilizers. Commercially-made products come with complete components. Now there are many types of natural fertilizers available in the market, each with their own pros and cons. If you’re looking for a better and more effective marijuana fertilizer mixes for your plants, consider the following top best marijuana fertilizers in the market today.
Best Marijuana Fertilizer
Vermiculite and Perlite
Vermiculite and perlite are two of the most popular and most common marijuana fertilizers in the market. The two products are often used interchangeably, but actually, these are two different things.
What is perlite?
Perlite is added to soil mixes, even soilless growing mediums to enhance soil aeration. This means oxygen will enter compact soil better and move to the roots where it’s needed. Perlite is capable of improving the soil structure as it makes the soil loose and will drain any excess water or liquid fertilizer.
Perlite is a product made from volcanic glass that has the same name. Inside these tiny bits of perlite is water, which is trapped due to lava rapidly cooling and solidifying. When heat is applied to perlite, moisture escapes from the bits in an explosive manner. Perlite may also be made at home using simple materials, but it’s important to use horticultural-grade perlite to your plants.
Perlite is the best choice if you need soil to completely dry out between waterings. It is very porous and allows water and nutrients to drain completely.
How to use perlite?
To use perlite, follow the instructions:
- Mix equal amounts of compost, peat moss, and perlite.
- Fill the plant pots about ¾ – full of the mixture and plant seedlings in soil. Start with the roots.
- Pat the mixture gently using your hands.
- If you grow your plants from the ground, spread about 4 inches of perlite or a mixture of peat moss and perlite on the top of the garden area.
- Plant seeds or transplant your seedlings or clones to the area.
Advantages of using perlite
- It aerates the soil very well.
- It allows water and fertilizer to move deep into the roots.
- Can be used in all types of growing medium.
- Can be placed on surface soil or ground
- Provides minerals like calcium, potassium, and magnesium
Disadvantages of using perlite
- Will over-dry soil when used in high amounts.
- Will dry out the roots quicker
What is vermiculite?
Meanwhile, vermiculite is used in many kinds of plants, especially plants grown in coir or peat. It creates an ideal growing environment that will support plant growth. Vermiculite can enhance soil aeration as it allows oxygen to enter through the soil to reach the roots, similar to perlite, but not as efficient as perlite. Because the soil is aerated, there will be the efficient release of any kind of fertilizer you add to the soil. Also, soil that has an aerated structure will be able to retain water or moisture better and thus will work well to plants grown in dry or arid areas.
Vermiculite is made from hydrated laminar materials that look like minerals or mica. Vermiculite comes in different varieties, and the horticultural-grade vermiculite is made from applying massive heat to the material. Extreme heat transforms it into accordion-like pellets.
Vermiculite is ideal for plants that need the soil to be damp and soil that would easily dry out. This is for plants that love water as it can absorb water about 3 to 4 times its volume.
How to use Vermiculite?
To use vermiculite, follow these steps:
- Set aside your seedlings or your clones in peat pellets.
- Use an appropriate pot with enough holes for drainage.
- Mix well 25% vermiculite and 75% soil.
- Place soil and vermiculite mixture in the pot, but don’t fill it.
- Dig a hole in the middle enough to hold your seedlings or clones in peat pellets.
- Place the plant in and place more soil to cover it.
- Pat the soil slightly and water it until you see water coming out from the drainage holes.
Advantage of using vermiculite
- Will keep soil and the roots moist
- Will hold more water and fertilizer ideal for some plants
- Will retain moisture in the soil.
- It provides minerals like calcium, potassium, and magnesium.
Disadvantages of using vermiculite
- Overuse can lead to root rot
- Will lead to overwatering when not properly proportioned with soil.
Wood Ashes
An unlikely fertilizer is wood ash. It is used by people who grow garden plants, vegetables, fruits, herbs, and many other types of plants. Wood ash is a good fertilizer because it contains enough minerals like potassium and calcium. It’s easy to find wood ash; you can even use ash in your fireplace after you’ve burned firewood.
But not all trees or wood have the same amount of nutrients. Some may contain more like oak and maple, while some only have average amounts. And aside from the generous amounts of nutrients, you can get from wood ash, it is an effective way to keep soft-bodied pests at bay like snails, slugs, and caterpillars.
How to use wood ashes?
Follow these steps to use wood ashes in your garden
- Take a bag of wood ashes and remove bits of harmful materials before you apply to your plants.
- Take a small amount and lightly place it over or scatter it on your plants.
- If you’re making compost, add a cup of wood ashes to the heap.
- Never place too much because if ash gets wet, this will create salt. Too much could ruin your plants.
Advantages of using wood ashes
- Easy to acquire, and it’s free.
- With nutrients like potassium and calcium.
- Easy to use, just scatter over your plants
- You can add this to your compost pile.
Disadvantages of using wood ashes
- Adding too much can lead to higher potassium and calcium levels.
- Too much calcium and potassium can affect the absorption of other nutrients.
- It can release high amounts of salt when wet, so add only a thin layer on topsoil.
Bat Guano
Bat guano is a type of organic fertilizer that’s not just for cannabis plants. It is also used in garden plants, vegetables, fruit-bearing trees, ornamental plants, and many more. Guano is bat poop and is rich in different nutrients that can enhance your plant’s growth and improve your soil’s structure (ability to hold water and nutrients). The effects of bat guano are long-lasting, and thus, you can expect the soil to remain healthy even after you have harvested your plants.
However, there are also some disadvantages of using bat guano. This fertilizer is very expensive. But as expert growers say, you don’t have to worry about the cost because it has long-lasting effects that make a great investment.
You can also use bat guano as natural pesticides and fungicides. It can control pests and nematodes that reside in the soil. It also acts as a compost activator as it can speed up the decomposition stage. Bat guano has a 10-3-1 NPK ratio, which means it is rich in nitrogen, which can help boost leaves, stems, and root growth and development.
Bat guano should be added to soil together with other supplements during the vegetative stage. You can buy bat guano as is, or it may be a part of a long list of nutrients in regular fertilizer products.
How to use bat guano?
When bat guano is an ingredient of a fertilizer product, simply follow the steps on how to apply the fertilizer on plants.
- Mix correct amounts of fertilizer mix with bat guano and water.
- Place the mixture in a watering can or sprayer.
- Apply to plants just like applying plan water.
- Observe your plants for at least a few days and make the necessary adjustments.
To make compost teas, follow these steps
- Fill a 5-gallon bucket with tap water and let this sit, uncovered for at least a day, to remove chlorine. Remember, chlorine kills microbes.
- Add the compost catalyst in the water. This includes the bat guano and other organic material.
- Place the compost in a wire-mesh container material to float it. You can use an old stocking or cheesecloth. Let this mesh container float in the bucket with water.
- Install an air pump to add air in the bottom of the bucket. Air from the pump will stimulate bacteria and fungi to multiply and start the compost.
- Once you see foam on top of the bucket, use the compost right away. The foam is an indicator that microorganisms like bacteria, protozoans, nematodes, and fungi are doing their work to create a good fertilizer brew.
- Apply the compost tea to your plants as you would water your plants. Do this during the early morning when the sun is not yet too hot.
Advantages of using bat guano
- It is very nutritious.
- It can be found in most high-quality marijuana fertilizers.
- Contains enough nutrients to boost plant growth
- Long-lasting effects
- With anti-bacterial and anti-fungi properties.
Disadvantages of using bat guano
- It is very expensive
- Compost tea is not easy to make
Fish Meal
Notice that when you eat fish, some parts are just hard to eat. These may include the head, bones, fins, and innards (depending on the type of fish you’re eating). Smart plant growers use these parts and grind them to make a fine material that you can readily add to the soil.
Soil with a fish meal will prolong the absorption of nutrients in the soil. Also, fish meal is rich in nitrogen and will help boost plant growth during the vegetative stage. Usually, it is applied as a soil conditioner during the fall, wintertime, or early springtime. You can make your own fish meal if you have a powerful grinder that can pulverize fish parts to powder. You can also find a fish meal as a major component of high-quality fertilizer and is used in different types of plants, including marijuana.
How to use fish meal
To use fish meal, follow these steps:
- Before you begin your grow, condition the soil medium using fish meal.
- Follow the instructions found on the package.
- Apply to soil and let the soil sit still before you sow your seeds.
Advantages of using fish meal
- Prolongs nutrient absorption.
- Works as a soil conditioner.
Disadvantages of using fish meal
- With more nitrogen and thus is only for the vegetative phase
- You can’t make it at home without special equipment
Worm Castings
Worm castings are the material that comes from the body of the earthworm after it has digested organic components or soil. It is loaded with minute organisms and is packed with a lot of nutrients. Just like bat guano, worm castings are used to make compost teas.
Never add worm castings directly to soil because this can result in weed that tastes worm poop. Use only compost teas enriched with worm castings and other organic materials.
How to use worm castings
To use worm castings, follow these steps to making compost tea:
- Fill a 5-gallon bucket with tap water and let the chlorine evaporate. It can take a day to do this.
- Add the compost catalyst in the water. This includes organic material like worm castings.
- Place the compost in a wire-mesh container so it can float. You can use old stockings or a piece of cheesecloth. Let this float in the bucket.
- Install an air pump to stimulate bacteria and fungi to multiply and begin making the compost.
- The presence of the foam is a sign that microorganisms like bacteria, protozoans, nematodes, and fungi are now creating the brew.
- Apply this to your plants.
Advantages of using worm castings
- This contains a lot of nutrients
- Is an ingredient in common marijuana fertilizer products
Disadvantages of using worm castings
- You can’t apply this directly to plants
- “Brewing” compost tea takes time
Conclusion
Using natural marijuana fertilizers can help boost growth and support bud production, but you must carefully consider your choice. Weigh the pros and cons of each type of fertilizer and always study the best options ideal for the strain that you’re growing. Only with careful consideration of all these factors will you be able to correctly use natural fertilizers or any kind of fertilizer and supplement for that matter.


One Response
Your article helped me a lot, is there any more related content? Thanks!