


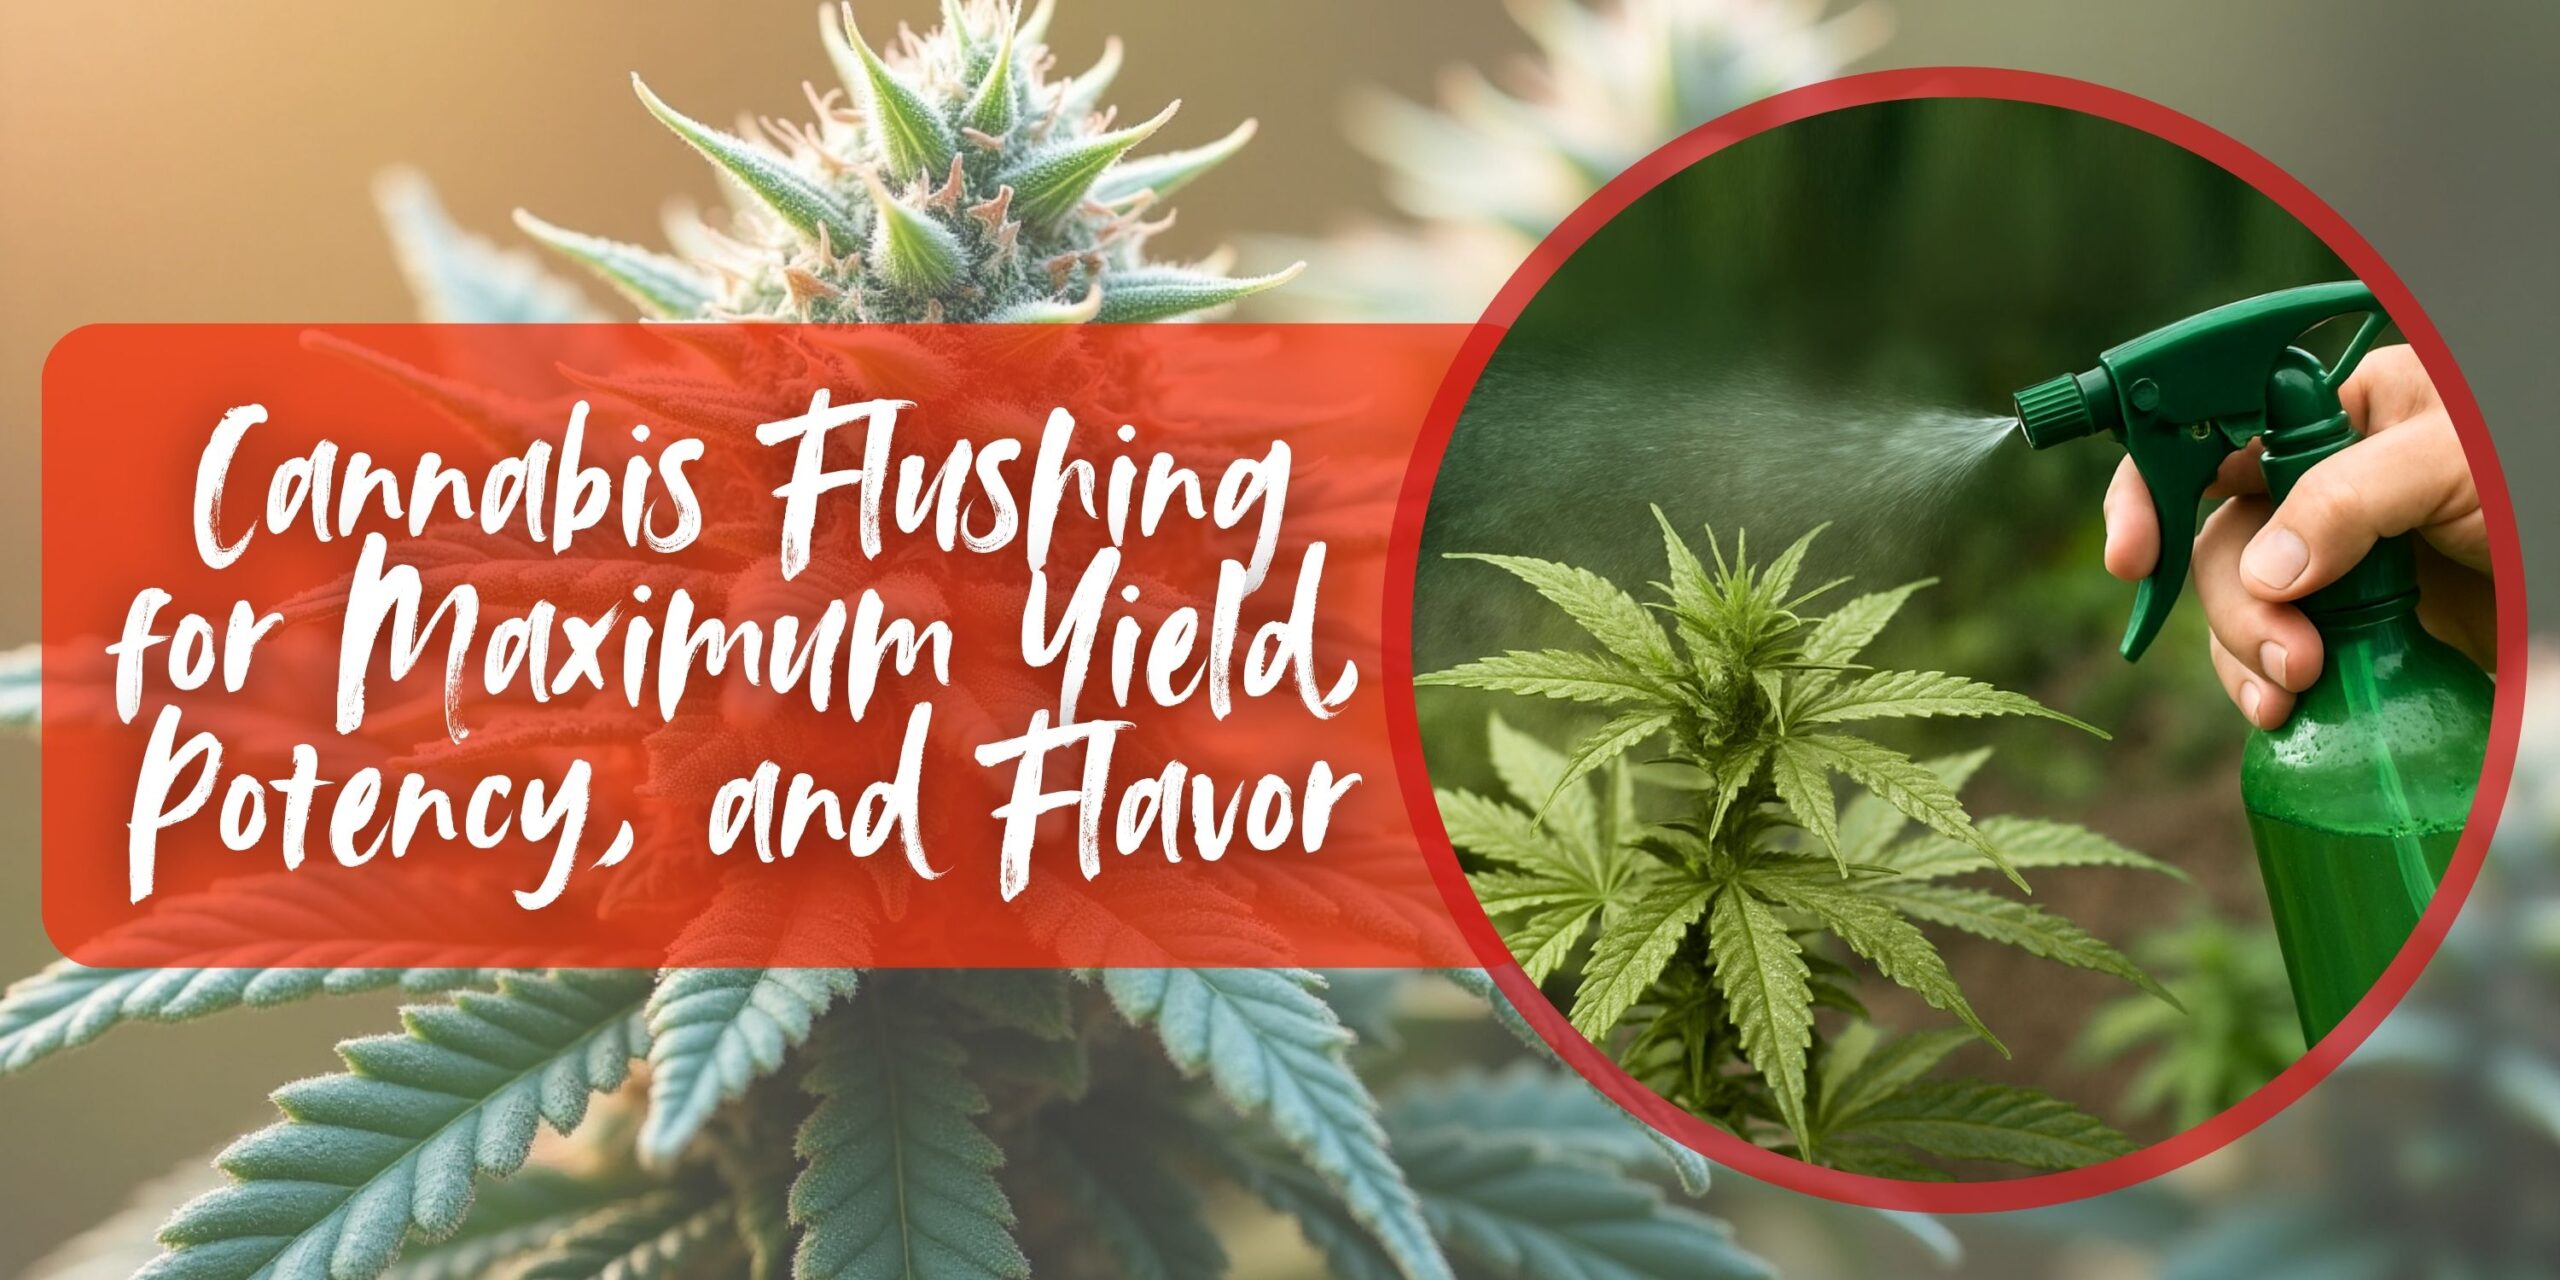
Flushing Cannabis is an important, yet misunderstood, part of the growing process. When done correctly, flushing increases aroma, smoothness, flavor, and overall cannabinoid expression by removing excess nutrients from the plant’s vascular system before harvesting. Advanced flushing techniques, ideal timing, and troubleshooting pitfalls are all covered in this guide so that growers can create elite-level cannabis that shines in potency and purity.
What Is Flushing Cannabis and Why Is It Important

Flushing cannabis is the process of feeding plants only water, free of nutrients and additives, for a set time before harvest. This forces the plant to burn off stored nutrients, resulting in cleaner smoke, brighter terpene profiles, and reduced harshness. Flushing is especially important for growers using mineral-based fertilizers, which can leave behind unwanted chemical residues.
Flushing, in addition to enhancing smoke quality, aids the plant’s metabolic events, which occur at the end of the flowering stage. When nutrient uptake is terminated, the plant will, by its own physiological need, reroute internal resources to promote bud maturation. This physiological shift may lead to more fully expressed trichomes and resin, further increasing potency. In setups where regulatory testing is required, adequate flushing will assist in ensuring residual nutrient levels in the final product are within the permissible limits.
When to Flush Cannabis: Grow Medium Timing

Correct timing of the flush is determined by both the flowering time of the cultivar and the growing medium. Excessive or inadequate flushing will negatively affect the development of cannabinoids or drain the plant prematurely.
Soil Grows
In soil, the flush will typically begin 10 to 14 days before harvest. Soil retains nutrients longer than hydro or coco, so the flush must be longer. Monitor trichomes closely and initiate the flush when they are predominantly cloudy.
The slow release of nutrients in soil equals the reality that even after water-only feedings are initiated, residual minerals can remain available at the roots for days. So, soil growers must be diligent not only about trichome maturity, which holds nutrients, but also about plant health and senescence signals to prevent flushing the plant too early.
Coco Coir
For coco-based systems, a 7-10 day flush is adequate. Coco acts more like hydroponics in that it holds nutrients but still buffers them to some degree. Too long a flush can stress the plant, so accuracy is important.
As coco allows for quicker uptake and leaching of nutrients, monitoring EC levels very closely is critical. Properly timed coco flush will enhance fan leaf yellowing to optimum levels while allowing buds to finish ripening and swelling with full terpene and cannabinoid expression.
Hydroponic Systems
Flushing in hydro systems only takes 5-7 days as nutrients are easily accessed and washed out. Reverse osmosis (RO) or distilled water is best for maximum purity. Some hydro growers use light flushing agents during this time to assist in breaking down nutrients.
Since hydro systems buffer very little, plants respond quickly to their environment and nutrition changes. This process makes it easier to dial in a precise flush but also leaves less margin for error. Water temperature, oxygenation, and microbial balance must all be optimized to prevent root stress or disease during this vulnerable time.
How to Flush Cannabis Plants: Step-by-Step Instructions
Flushing weed is not just about not providing nutrients. Success in it requires monitoring, technique, and environmental control.
Step 1: Discontinue Nutrients
Discontinue feeding any nutrients and provide pH-balanced water. In soil, the ideal pH is 6.0 to 6.8, and for coco and hydro, 5.8 to 6.2.
It is essential to utilize water with adjusted pH since, even without nutrients, plants still absorb minerals from the medium. Maintaining a balanced pH ensures that any residual bioavailable nutrients do not cause imbalances or deficiencies during the flushing process.
Step 2: Use Enough Volume of Water
Use 2-3 times the volume of your container in clean water to initiate the flushing. For example, flush a 5-gallon container with 10–15 gallons of water to effectively leach out the salts.
This initial flush should be slow and continuous to avoid compaction of the root zone. Attempt to divide the volume into watering intervals that are smaller and spread over a period of several hours to ensure full saturation and proper runoff. In the case of automated systems, supply continuous flow rates and avoid water standing.
Step 3: Measure Runoff EC and pH
Monitor electrical conductivity (EC) and pH of the runoff. A well-flushed plant will have a runoff EC of less than 0.6 mS/cm and a pH that is in the desired range and stable.
Runoff testing helps ensure that nutrient levels are reduced as they ought to be. If after several flushes EC remains high, it might be an indicator of salt buildup or poor drainage. You can apply enzymes or root-pruning products to further clean the medium in such cases.
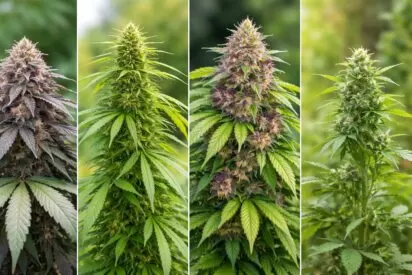
Step 4: Observe Leaf Discoloration and Trichomes
As flushing persists, fan leaves should turn yellow naturally, a sign the plant is deteriorating stored nutrients. Inspect trichome maturity with a jeweler’s loupe or microscope and harvest when they’re mostly cloudy with some amber.
This yellowing of leaves is a visual indication of successful internal nutrient depletion, which signals that the plant is approaching full maturity. A healthy flush will show even discoloration from the bottom leaves upwards without sudden necrosis, spotting, or wilting.
Common Flushing Mistakes to Avoid
Experienced growers can also make errors while flushing plants. Avoid these common mistakes to guarantee plant health and maximize results:
Flushing Too Soon
Flushing too soon can induce premature senescence, lowering resin production and overall yields. Always coordinate flushing windows with trichome development and not use calendar days alone.
Early flushing can stunt the ultimate bulk of the buds, especially if the plant begins drawing on its resources before peak flowering. Consider strain-specific timelines and phenotype expressions when charting the optimum flush window.
Failure to Adjust Water pH
Pure water with the wrong pH can exclude important nutrient uptake or shock the root zone. Monitor and adjust pH based on the medium.
Imbalanced pH when flushing can cause some unintentional deficiency or toxicity, even in a nutrient-free solution. Plants are metabolically active at harvest; therefore, water chemistry is still significant in maintaining cellular activity and quality at finish.
Insufficient Monitoring of Runoff
Blind flushing without monitoring runoff EC and pH can result in residual salt accumulation or under-flushing. Ensure your runoff readings are moving downwards throughout the flush period.
Poor runoff monitoring also risks overwatering or drowning the roots, particularly in thick or poorly aerated media. Including regular drain tests and moisture level checks in your routine ensures both the cleanliness and health of the roots during the flush.
Organic vs Synthetic Flushing Practices
Organic Cultivation
In organic systems, flushing is more about reducing microbial activity and finishing the plant in a graceful manner than it is about removing synthetic salts. Some organic farmers don’t flush and instead rely on microbial balance and gradual nutrient depletion. Others reduce compost teas and late-flower top-dressing to allow for natural senescence.
Organic growing focuses on building a healthy, balanced ecosystem within the root zone. Organic matter slowly releases nutrients as it naturally decomposes over time, and therefore, organic growing systems are more forgiving when flushing. Organic growers, for this reason, will tend to use natural additives to maximize the plant’s absorption of nutrients during the flush rather than synthetic flushing products.
Synthetic Fertilizers
For salt-based synthetic feeds, flushing is crucial. Residual salts of synthetic nutrients can burn plants and contaminate their flavor. Synthetic nutrient growers must flush well, and EC monitoring is one of the main tools for this. The fertilizers provide nutrients quickly, but if not adequately flushed out, they will leave behind harmful salts and minerals.
Advanced Techniques: Employing Flushing Agents and Enhancers
Certain flushing products will also break down remaining nutrients and speed up the cleaning process of the plant. Look for flushing products that contain enzymes, chelators, or humic acids that aid in transporting nutrients out of plant tissue.
These products can potentially accelerate the flushing process, especially in coco and hydroponic systems, where nutrient retention is high. However, we must use these products cautiously, as improper use can lead to undesirable changes in flavor or potency. Follow the manufacturer’s instructions for these products and consider testing them on a small scale first.
Monitoring Plant Health During Flushing
Healthy plants during flushing will exhibit progressive yellowing, especially on older leaves, but in the absence of necrosis or wilting. The buds should still be swelling, and there should be no slowing of resin production. In case of observation of wilting, leaf curl, or nutrient lockout, re-assess pH, EC, and flushing strategy in general.
Proper airflow, humidity control, and steady lighting are still critical at this stage. Avoid over-increasing humidity during flushing to prevent mold and preserve terpene integrity. Steady conditions are required to avoid any further stress that will affect the final quality of your cannabis.


One Response
Thank you kindly for sharing your knowledgeable info. I’m a new grower and plan to grow the SOG method in a 3.5 x 3.5meter grow room. I’m only going to use fully organic fertilizers/nutrients for all the plants.