

You have come to the right place if you want to understand the process of drying weed fully. But first, let us answer the question what is drying weed?
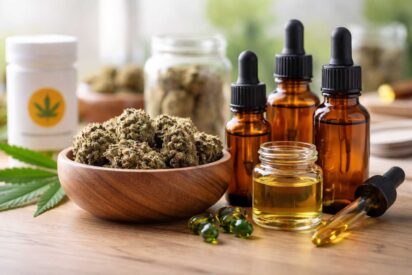
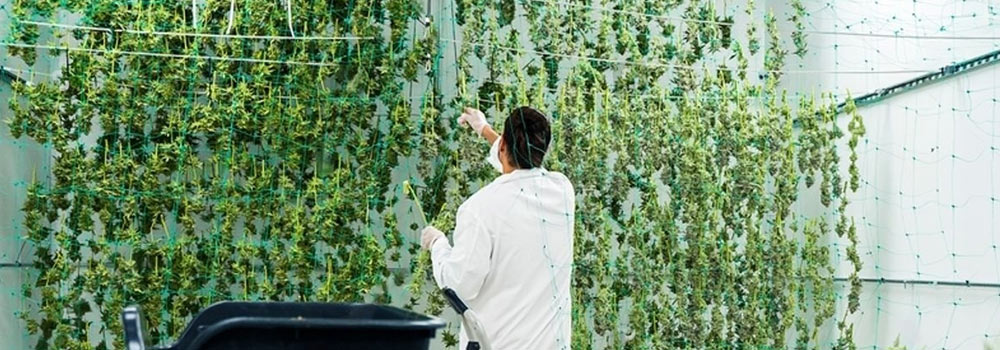
The act of drying cannabis, commonly referred to as “weed,” entails extracting excess moisture from freshly harvested buds with the aim of conserving their potency, taste, and consistency. This meticulous process necessitates suspending the buds upside down in a well-ventilated, cool, and dry region where they are allowed to achieve the desired moisture level throughout approximately 5 to 10 days. Following the successful completion of this endeavor, the buds may then be pruned, aged, and maintained.
What You Need
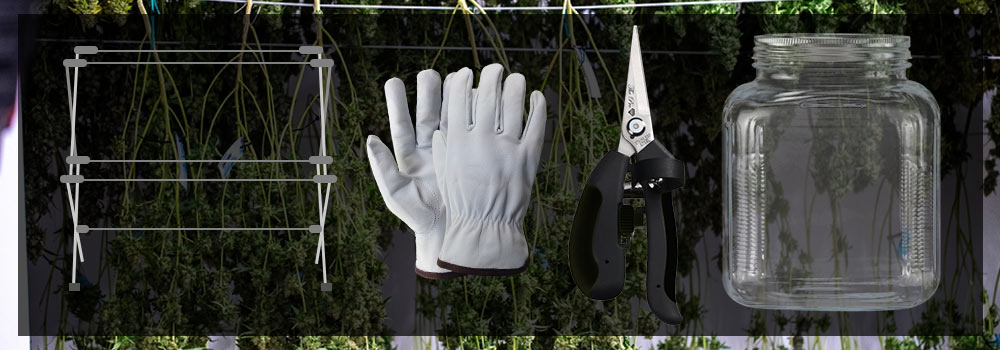
Drying rack or hanger: You will need a drying rack or hanger to hang the buds or flowers upside down to allow them to dry evenly. You can make your drying rack or hanger using a mesh screen or netting.
Gloves: Wearing gloves will help prevent contamination and transfer oils and resins from your hands onto the buds.
Trimming scissors: You will need a pair of sharp trimming scissors to remove any excess leaves or stems from the buds.
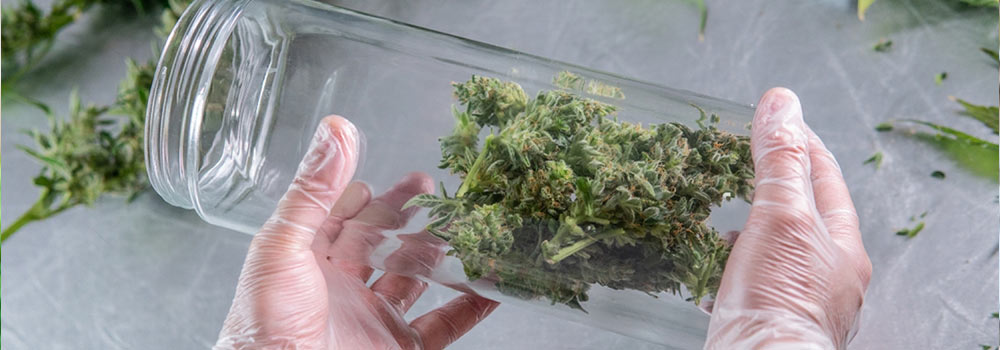
Glass jars: Once the buds are dry, store them in glass jars with airtight lids to prevent moisture from entering.
Step-by-Step Guide to Drying Weed
Step 1: Trim the buds
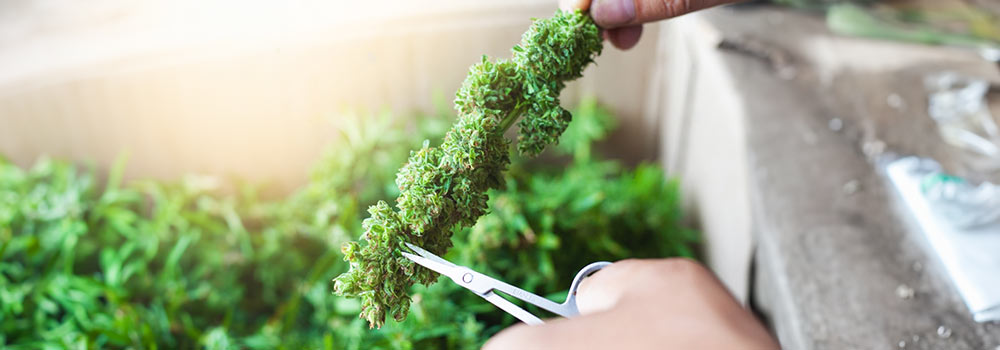
The careful act of trimming the buds is vital in enhancing the final quality and visual appeal of the cannabis product. Trimming is also instrumental in guaranteeing an even drying process by eliminating unwanted bud materials.
A sharp pair of trimming scissors is essential to carry out this delicate procedure, and hygiene is important. Using clean scissors is critical in preventing the propagation of bacteria and other harmful pathogens that could negatively impact the buds. Additionally, one should take great care in handling the buds, as minimal contact is preferable to avoid harming the valuable trichomes.
When trimming, start by discarding any large fan leaves that lack visible trichomes. These leaves are easily recognizable as they are sizeable and devoid of trichomes. The gentle snapping of the leaves off the buds can be done by hand or scissors.
The next step involves trimming scissors to eliminate small leaves lacking visible trichomes. It’s essential to leave some small leaves near the buds as they contain crucial essential oils and flavor compounds that contribute to the overall taste and aroma of the final product.
Lastly, the trimming scissors should be employed to excise any stems that remain attached to the buds. Since stems do not contain any trichomes, they could impede the drying process if not detached. Snipping off the stems as close to the buds as possible using scissors is the optimal approach.
After the trimming process, the trimmed buds are ready to hang and dry. To maintain the quality of the trichomes and avoid contamination by harmful pathogens, one should handle the buds as little as possible.
Step 2: Hanging the buds
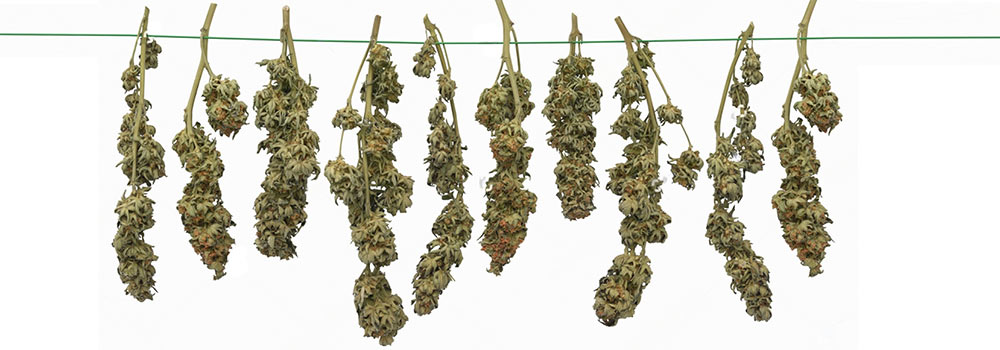
Following the careful trimming process, the next step involves suspending the buds upside down for drying. This course of action facilitates even moisture dispersion and discourages mold or mildew development on the buds.
A drying rack or hanger capable of supporting the buds’ weight is necessary to hang the buds. You can fasten the buds to the rack or hanger using a wire or piece of string. Ensure that the buds do not make contact with each other to prevent the creation of humid zones that could trigger the development of mold or mildew.
While selecting an ideal location to hang the buds, opt for an environment that is cool, dry, and well-ventilated. A basement, garage, or closet that is not excessively damp or humid could suffice. It’s essential to avoid areas that experience high humidity or temperature variations, as these could harm the quality of the buds.
In the event that the drying area has inadequate air circulation, introducing a fan could enhance ventilation and minimize humidity levels. Nonetheless, one should exercise caution when positioning the fan as directing it directly towards the buds could cause them to dry too rapidly, compromising their potency or flavor.
The buds should be left to hang for approximately 7-10 days, depending on the humidity and temperature levels within the drying area. During this phase, the buds gradually lose moisture and attain a dry texture. You can assess the progress of the drying process by gently pressing the buds; if they feel firm and crispy, they are ready for the next step of curing.
Step 3: Check humidity levels
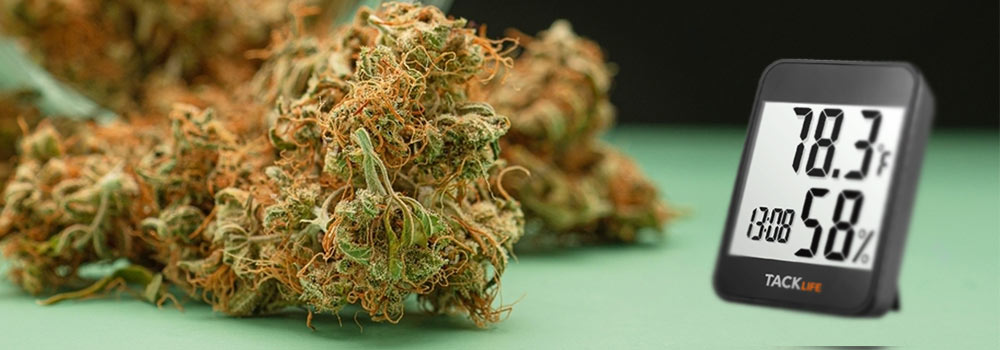
Monitoring and regulating humidity levels during the drying process are crucial in achieving a high-quality cannabis product that is free from mold or mildew. The recommended humidity level for drying cannabis buds is between 40-50%, as higher levels can impede the drying process and cause mold or mildew, and lower levels can lead to premature drying and loss of potency and flavor.
To determine the humidity levels in the drying area, the use of a hygrometer, a device that measures the amount of moisture in the air, is necessary. Hygrometers can be acquired easily and affordably at hardware or gardening stores.
Regular monitoring of humidity levels using a hygrometer is vital in adjusting the drying environment accordingly. If the humidity level is too high, a dehumidifier or air conditioning unit can effectively remove excess moisture from the air. On the other hand, increasing humidity levels can be achieved by placing a small bowl of water or using a humidifier.
Caution must be observed in balancing humidity levels, as an excessive level can prolong the drying process and encourage mold or mildew growth. Thus, it is vital to maintain the proper humidity levels in producing high-quality cannabis buds through meticulous monitoring and regulation.
Step 4: Check temperature
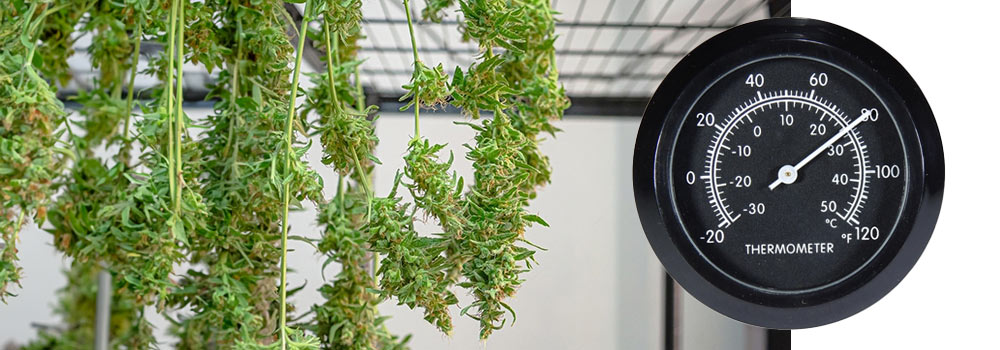
To guarantee uniform dryness and preservation of the potency, flavor, and aroma of the buds, it is crucial to uphold an appropriate temperature in the drying area. The optimal temperature range for drying marijuana is between 60-70°F (15-21°C). Excessively high temperatures can accelerate the drying process, leading to a loss of potency or flavor. In contrast, excessively low temperatures can decelerate the drying process, increasing the likelihood of mold or mildew growth.
A thermometer, which measures the temperature of the air, can be employed to assess the temperature in the drying area. This device is readily available at most hardware or gardening stores and comes at a reasonable cost.
After obtaining the thermometer, it should be situated in the drying area, and the temperature should be monitored regularly. If the temperature is excessively high, air conditioning units or fans can be utilized to lower it. Air conditioning units can cool the air, while fans can promote air circulation, reducing temperatures.
On the other hand, if the temperature is too low, a heater or enhanced airflow can be used in the drying area. However, it is important to be cautious not to elevate the temperature excessively, leading to rapid drying that can diminish the potency or flavor of the buds.
Maintaining an appropriate temperature is critical for producing superior-quality cannabis buds. Utilizing a thermometer and adjusting the temperature as necessary ensures that the buds dry uniformly while preserving their potency, flavor, and aroma.
Step 5: Monitor the drying process
To ensure a proper drying process and avoid mold or mildew formation, it is essential to monitor the buds regularly. The drying process generally lasts between 5 to 10 days, which may vary based on humidity and temperature levels in the drying area.
During the drying period, you should examine the buds’ moisture content every day by gently touching them with your fingertips. The buds should feel dry to the touch and have a slightly crispy exterior. Nonetheless, the stems should retain some moisture, and they should not snap immediately. Instead, they should bend slightly before breaking, indicating that the buds are still in the drying phase.
In the event that the buds still seem damp, you can extend the drying period for a few more days, but be cautious not to over-dry them, as this may result in the loss of potency and flavor. Conversely, if the buds feel excessively dry, you can introduce a small piece of fruit peel or a humidity pack into the drying area to help restore some moisture.
Moreover, it is crucial to examine the buds for any signs of mold or mildew during the drying process. If you detect any discoloration, white powdery substances, or an unusual scent, the buds may be contaminated with mold or mildew, and you must dispose of them immediately to prevent the fungus from spreading.
Step 6: Trim and store the buds
Once the buds are dry, the next step is the trimming process, which involves removing any remaining leaves or stems from the buds to enhance their appearance and smoking experience. You can use trimming scissors to meticulously trim around the buds’ edges, ensuring not to damage the buds themselves.
Following trimming, proper storage of the buds is crucial to prevent moisture from seeping in and causing mold or mildew formation. Glass jars with airtight lids are the most effective way to store cannabis buds. Plastic containers and bags can generate static electricity that can harm the trichomes, leading to a loss of potency and flavor.
While storing buds in glass jars, it is essential to ensure that the jars are clean and free from any pollutants. To sterilize the jars, you can boil them in water for a few minutes or use rubbing alcohol to thoroughly clean them. Once the jars are clean, place the buds inside, filling the jars approximately two-thirds full to allow for proper air circulation.
To maintain ideal humidity levels, you can use humidity packs in the jars. These small packets contain a mixture of salts and water that can help regulate the humidity levels at around 55-62%, which is ideal for storing cannabis buds. Humidity packs are available online or at your local cannabis supply store.
Lastly, store the jars in a cool, dry area, away from direct sunlight. Exposure to heat and light can deteriorate the buds’ potency and flavor. A dark cupboard or closet is an ideal storage location. You can also label the jars with the strain name and harvest date to keep track of your inventory. After finishing all these steps, you are ready to proceed with curing weed.