
Water curing is a cutting-edge and efficient cannabis curing process that greatly enhances the cleanliness and smoothness of the final product. By submerging freshly harvested buds in water, this process allows growers to quickly remove impurities such as chlorophyll, residual fertilizers, and other water-soluble impurities. With its quick turnaround, water-cured weed is increasingly favored by both commercial growers and home cultivators seeking high-quality, smooth cannabis in a fraction of the time it would take using traditional methods. This article dives into the science behind water curing, its benefits, and a detailed, step-by-step guide on how to execute it successfully.
What Is Water Curing Cannabis?
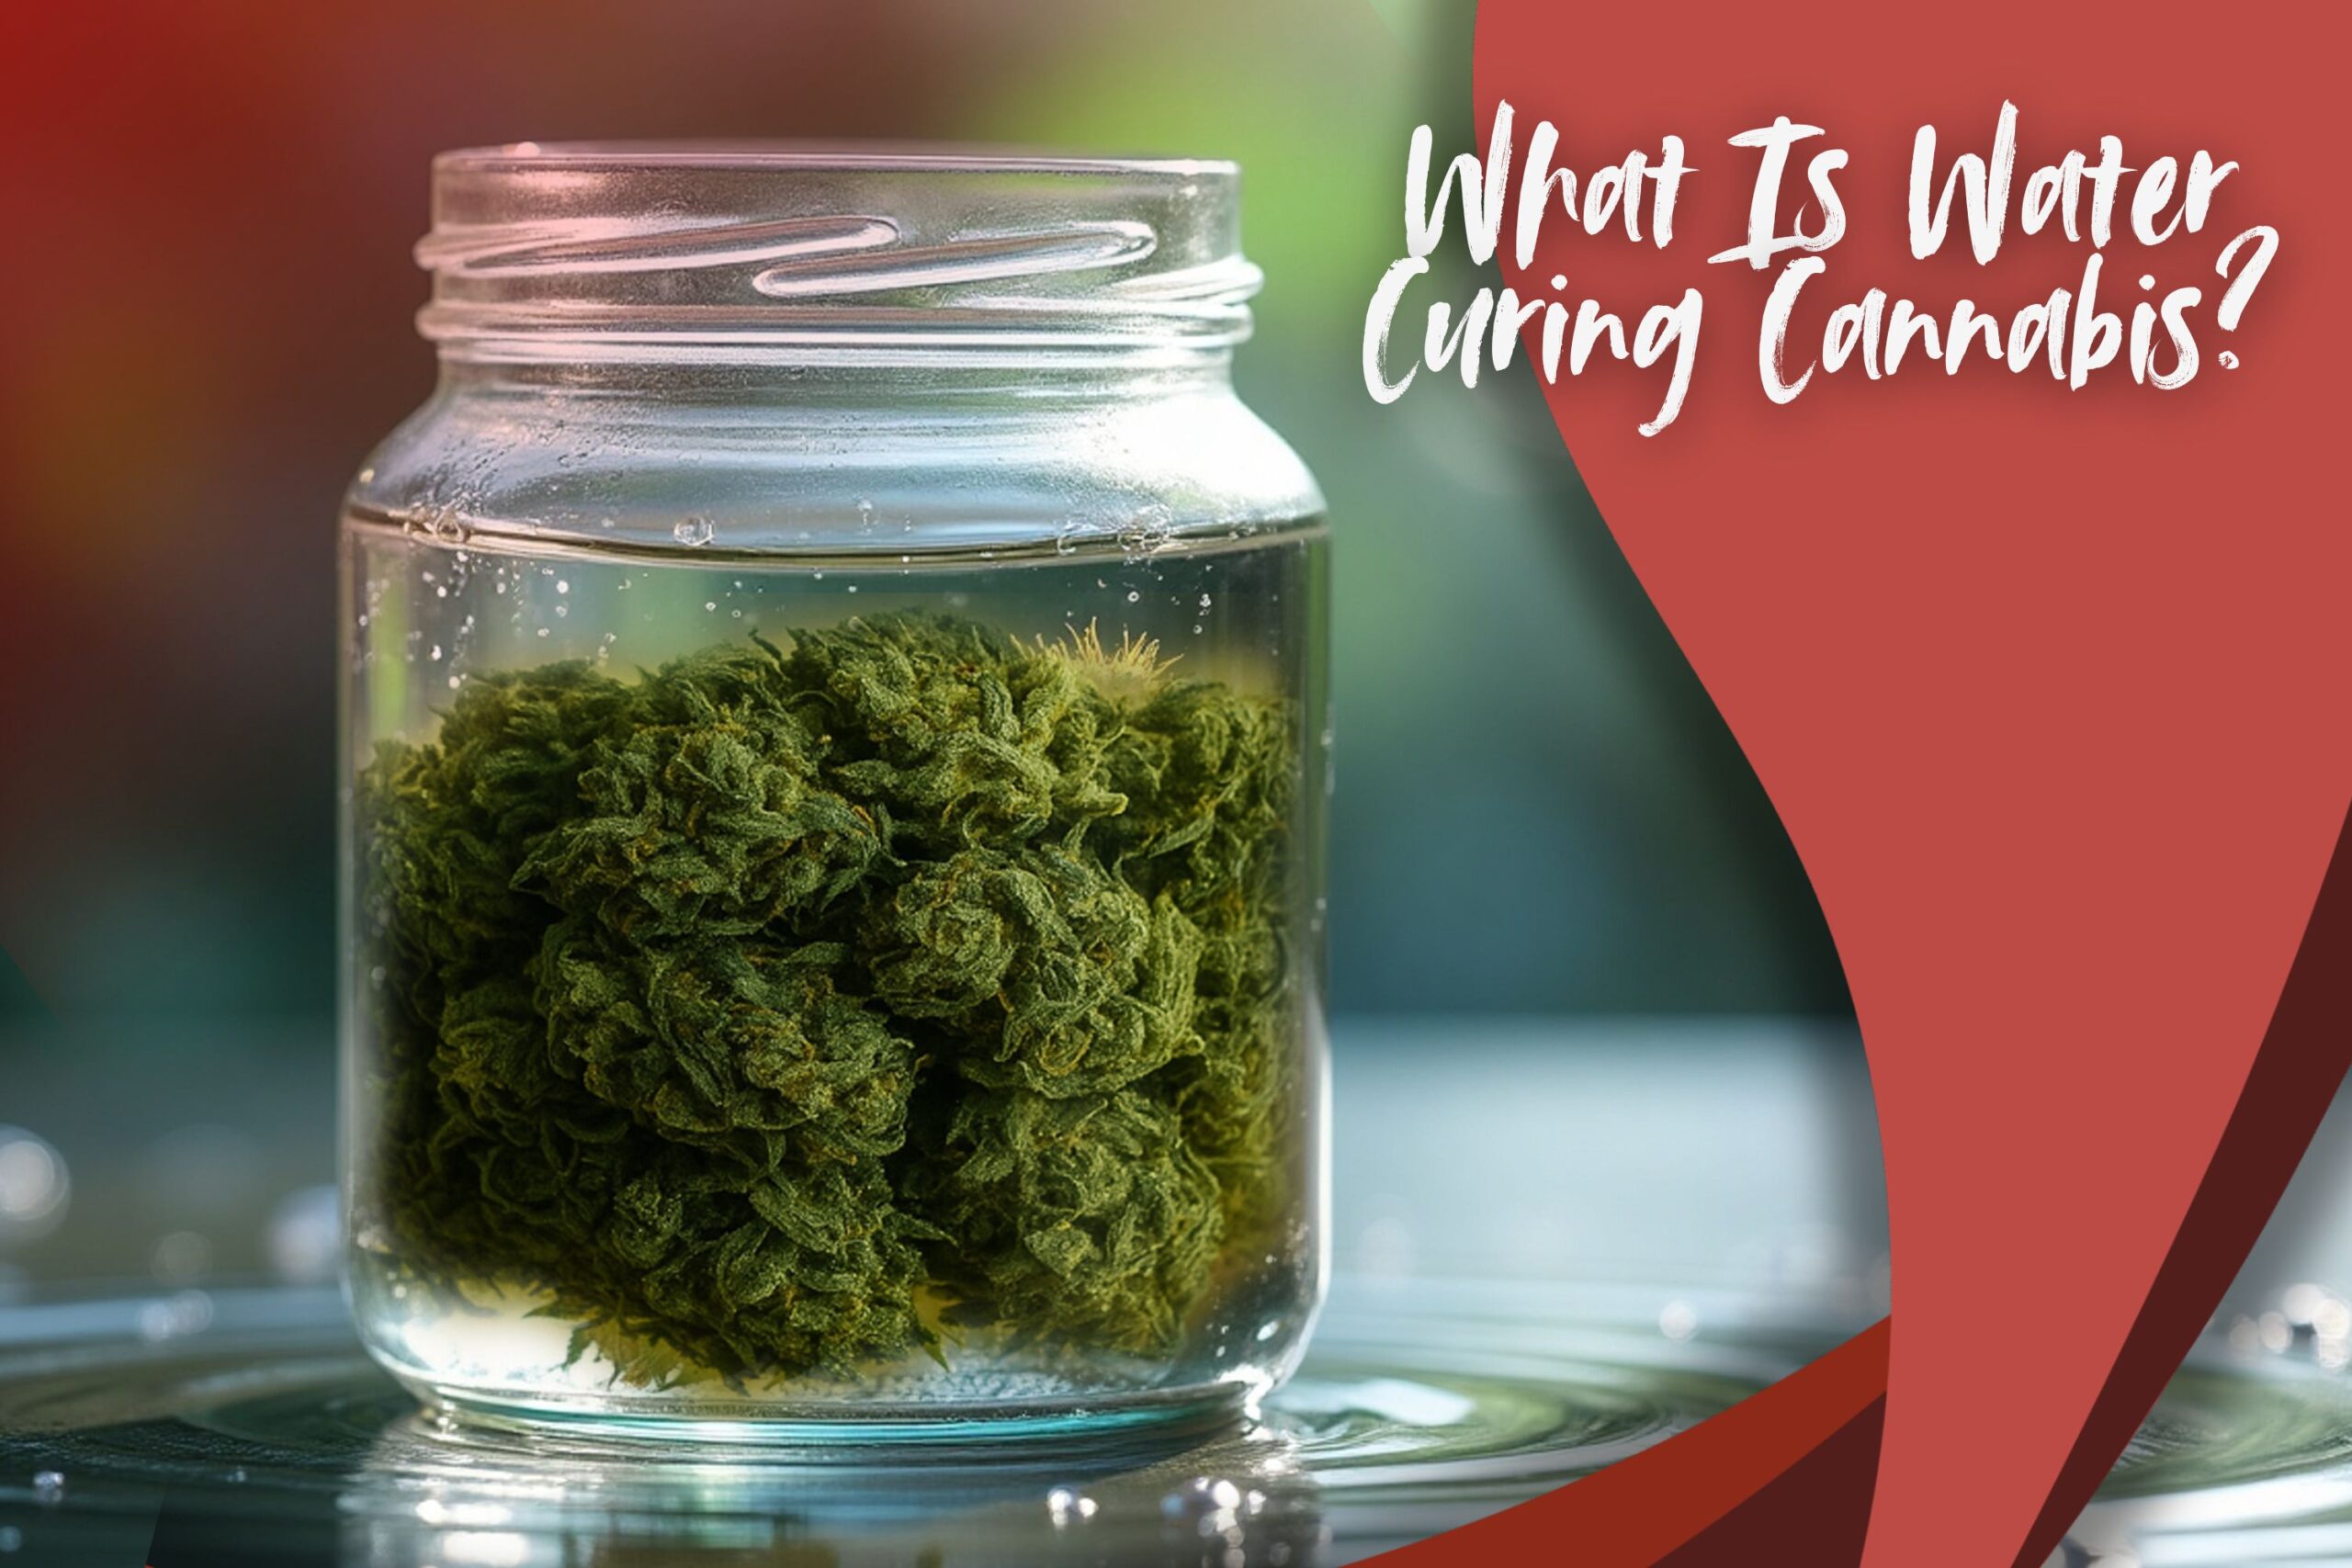
Water curing cannabis involves putting fresh-harvested, trimmed flowers into clean water and allowing them to soak for a few days to remove water-soluble impurities. Even though it will appear counterintuitive to let cannabis come into contact with water after it has been harvested, the method is chemically sound. Chemicals like chlorophyll, sugars, tannins, and fertilizer salts are soluble in water, which allows them to be removed from flowers more thoroughly than air can alone.
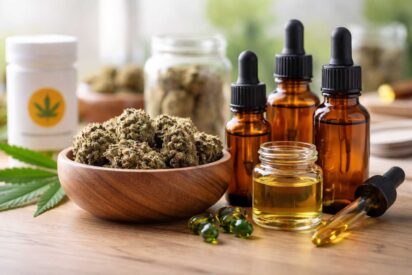
Most significantly, cannabinoids such as THC and CBD are not water-soluble, thus, the therapeutic potency is mostly maintained. This makes water curing extremely attractive to anyone who is producing cannabis oil, tinctures, or edibles. The end product is gentler on the lungs, smoother on the tongue, and cleaner in chemical composition, especially in comparison to improperly cured or flushed cannabis.
Key Benefits of Water Curing Cannabis
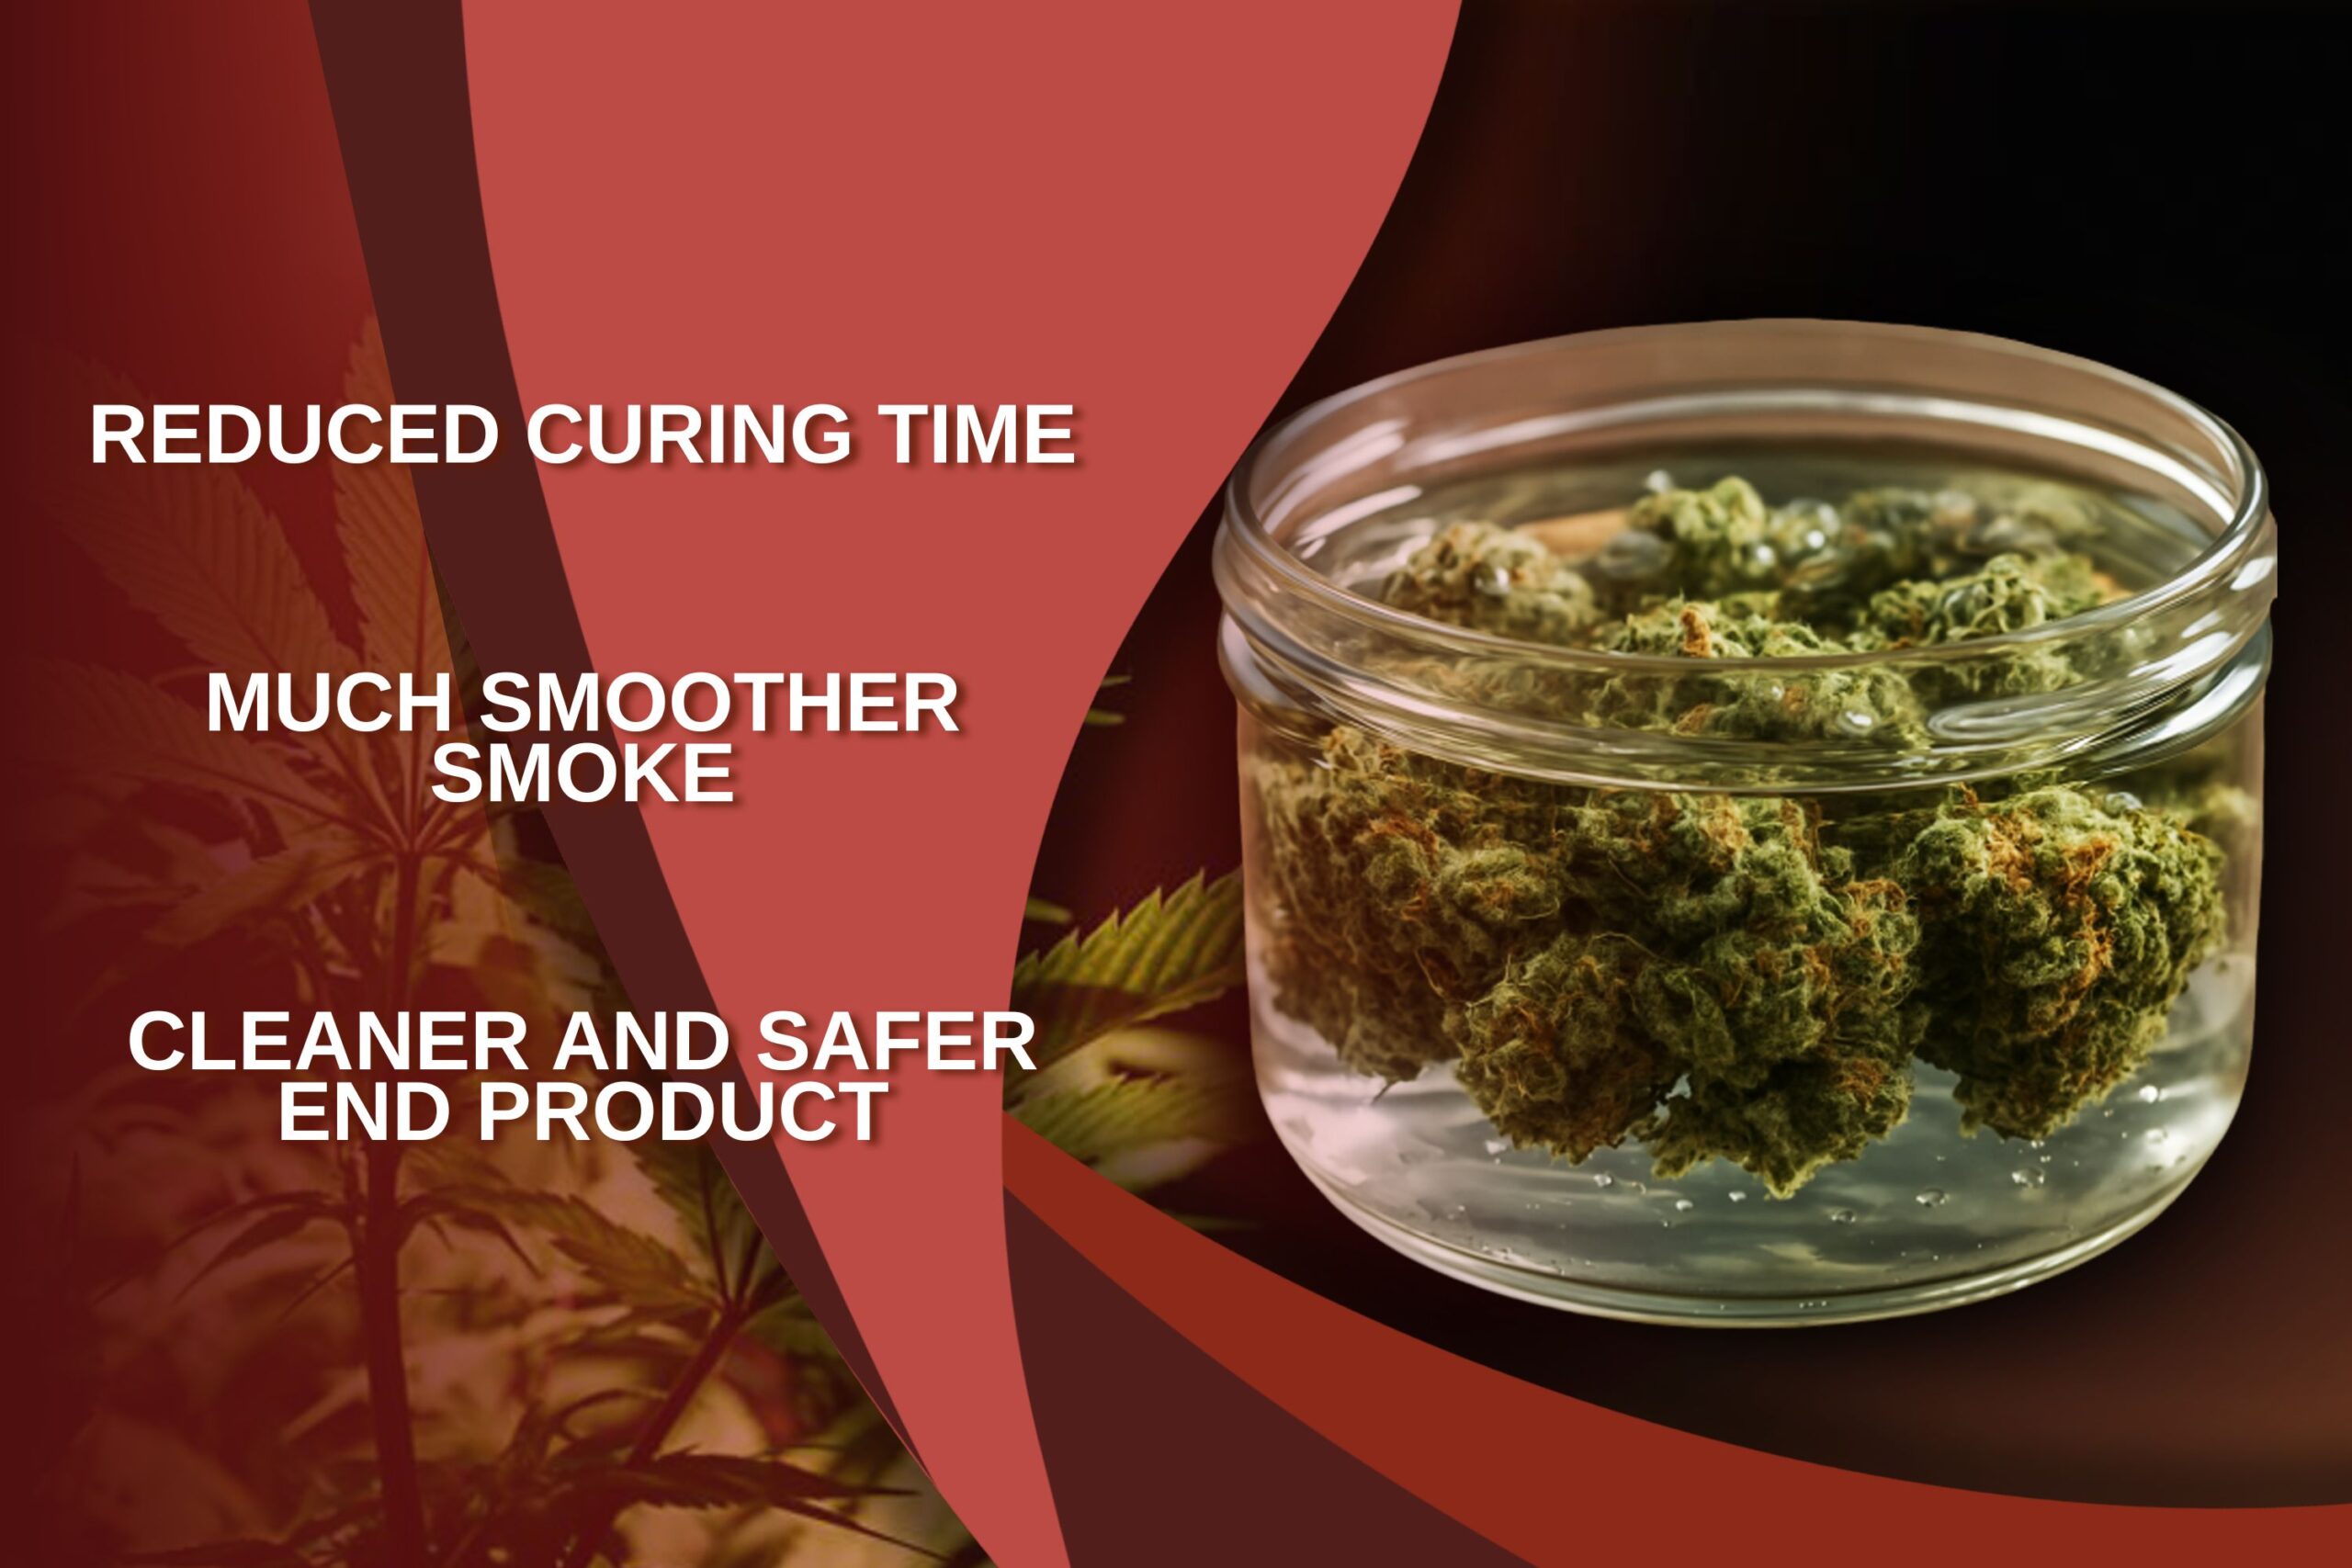
1. Reduced Curing Time
Curing with water reduces the curing time by half a week, down to less than ten days. This faster curing is excellent for time-sensitive operations, like testing or preparing small quantities for earlier market launch. Rapid curing is not always a compromise on quality but rather another trade-off between smoothness and flavor.
For growers who labor in damp climates where mildew and mold are constant threats in traditional air curing, water curing offers a safer alternative. The shortened time serves to minimize the risk of microbial contamination when the climate makes it a constant battle to maintain optimum humidity.
2. Much Smoother Smoke
By removing harsh leftover compounds, water curing creates a much gentler smoke on the lungs and throat. This is highly appealing to medical users suffering from respiratory issues or for anybody who wishes to reduce coughing and irritation without needing to vaporize or use edibles.
For heavy smokers, this smoother profile also reduces throat irritation and dry mouth in the long term. While some connoisseurs will lament the less intense terpene flavor of a traditionally cured bud, the smoother burn and reduced harshness typically outweigh the less aromatic flavor for many functional consumers.
3. Cleaner and Safer End Product
Water curing weed is the last stage of purification. Even when a grower has properly flushed the plants in the later phases of flowering, there can be leftovers that are lingering in the plant material. This especially holds when one is cultivating in soil or hydroponically with rich nutrient solution.
Also, outdoor cannabis is exposed to environmental contaminants such as dust, pollen, mold spores, or pesticide drift. Water curing can readily wash away most of these elements, producing a much cleaner and safer end product—a major issue for immunocompromised users and organic purity enthusiasts.
Step-by-Step Guide to Water Curing Cannabis
Step 1: Harvest and Trim
Start by harvesting mature plants at their best ripeness, ideally when trichomes are mostly cloudy with a little amber. Right away, perform a wet trim, removing fan leaves and surplus sugar leaves. This step is important since leaves contain a high concentration of chlorophyll and other impurities, which can spoil the end product if left intact.
Trimming also places additional surface area in contact, allowing water penetration and leaching of impurities to occur more effectively. Some growers trim even buds into smaller portions for maximum effect, although such manipulations do compromise aesthetic, and must be used with caution to preserve trichome structure.
Step 2: Prepare the Water
Distilled or reverse osmosis water is required to avoid introducing new contaminants. Chlorine, fluoride, or heavy metals in tap water may interfere with the curing process or alter the chemical composition of the final product. The water should be at or near room temperature—not cold, which may slow diffusion, and not hot, which may ruin cannabinoids.
Sanitize the container before use to prevent bacterial accumulation over the multi-day soak. Glass or food-grade plastic is recommended, and tight-fitting lids or clean environments should be used for containers to limit exposure to airborne contaminants.
Step 3: Submerge the Buds
Soak the trimmed buds in the prepared container and fill with water so that it covers them completely. Air pockets can prevent complete saturation; hence, gently stirring or pressing the buds down is effective in forcing out entrapped air. A sterile glass or ceramic weight might be used to keep the cannabis submerged and cure uniformly.
Avoid overfilling the container. Overpacking with buds can lower the water passage between them and slow down the diffusion of impurities. There has to be free space in each bud for water to circulate to ensure even curing across the whole batch.
Step 4: Change the Water Daily
Replace the water every 12–24 hours to prevent leached compounds from reabsorbing. Because impurities essentially draw out, you may notice water turning yellow, brown, or green. Frequent water changes continue the process going and in clean working order.
As an advanced, but not required step, a few experienced cultivators test the pH and electrical conductivity (EC) of water to monitor levels of impurities scientifically. When EC levels become stable and water is relatively clean after a change, curing is near completion.
Step 5: Dry the Buds
Once the curing process is finished—usually after 5 to 7 days—remove the buds very carefully and dry them with a pat. Avoid handling the water-cured cannabis excessively, as it is delicate and will be more prone to trichome loss. Transfer it to a drying rack in a dark room with good ventilation and 50–60% humidity at 20–22°C (68–72°F).
Use indirect airflow and avoid heat sources since water-cured flowers can be more prone to drying out compared to air-cured flowers. Observe carefully to prevent over-drying, which can lead to brittle, flavorless flowers. Accurate drying at this stage is important so the final product will be shelf-stable as well as mold-resistant.
Common Mistakes to Avoid
The most common mistake is not changing the water regularly. This allows the contaminants to build up and perhaps be reabsorbed back into the plant tissue, making the process pointless. A schedule of regular water changes is not a recipe for success.
Another pitfall is not drying enough afterwards. Wet buds quickly mold if kept in high humidity or closed too soon. Always test for a hard stem snap to verify dryness when keeping long-term. Precision and patience are essential at the final stages.
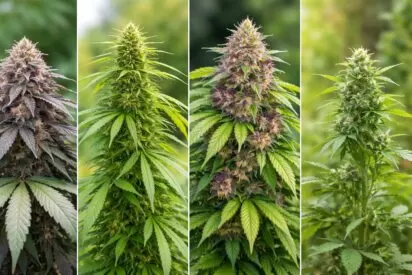
Best Strains for Water Curing
Succulent indicas and hybrid types high in THC respond particularly well to water curing bud because their resin content remains, while terpenes are lost. Strains with a pungent or overbearing aroma can benefit from the flavor-dulling effect this produces so that they’re less unpleasant tasting for more sensitive clients.
Strains headed for extracts or edibles also perform exceptionally well, as the terpene material, most of which is sacrificed with heat anyway, is not necessary. CBD-dominant strains also benefit, as they are now more accessible to medical patients to smoke for patients who need smooth, non-irritating air.
When to Use Water Curing Over Traditional Methods
Use water curing when a rush is necessary or with out-of-doors-grown crop that could become contaminated with exterior pollutants. Water curing is an excellent fix, too, to rescue overcoked or underserved bud and turn it into usable smokeable material.
Cultivators growing cannabis for oil or hash removal can streamline post-harvest procedures with water curing, as the final goal isn’t flower appearance but chemical cleanliness. It’s also invaluable in disaster relief—safeguarding crops after unexpected rain showers, pest issues, or nutrient deficiencies.
Conclusion: A Powerful Technique for Modern Cultivators
Water curing is a highly effective and efficient method of creating clean, smooth cannabis within a matter of a few days. While it may sacrifice some of the aromatic and flavor components, it makes up for it with its ability to provide a smoother and more refined user experience for users, especially those who are sensitive to respiration or those producing cannabis concentrates and edibles. As long as the correct procedures and pitfalls are bypassed, growers can maximize the full potential of this unique curing process to address their specific needs.