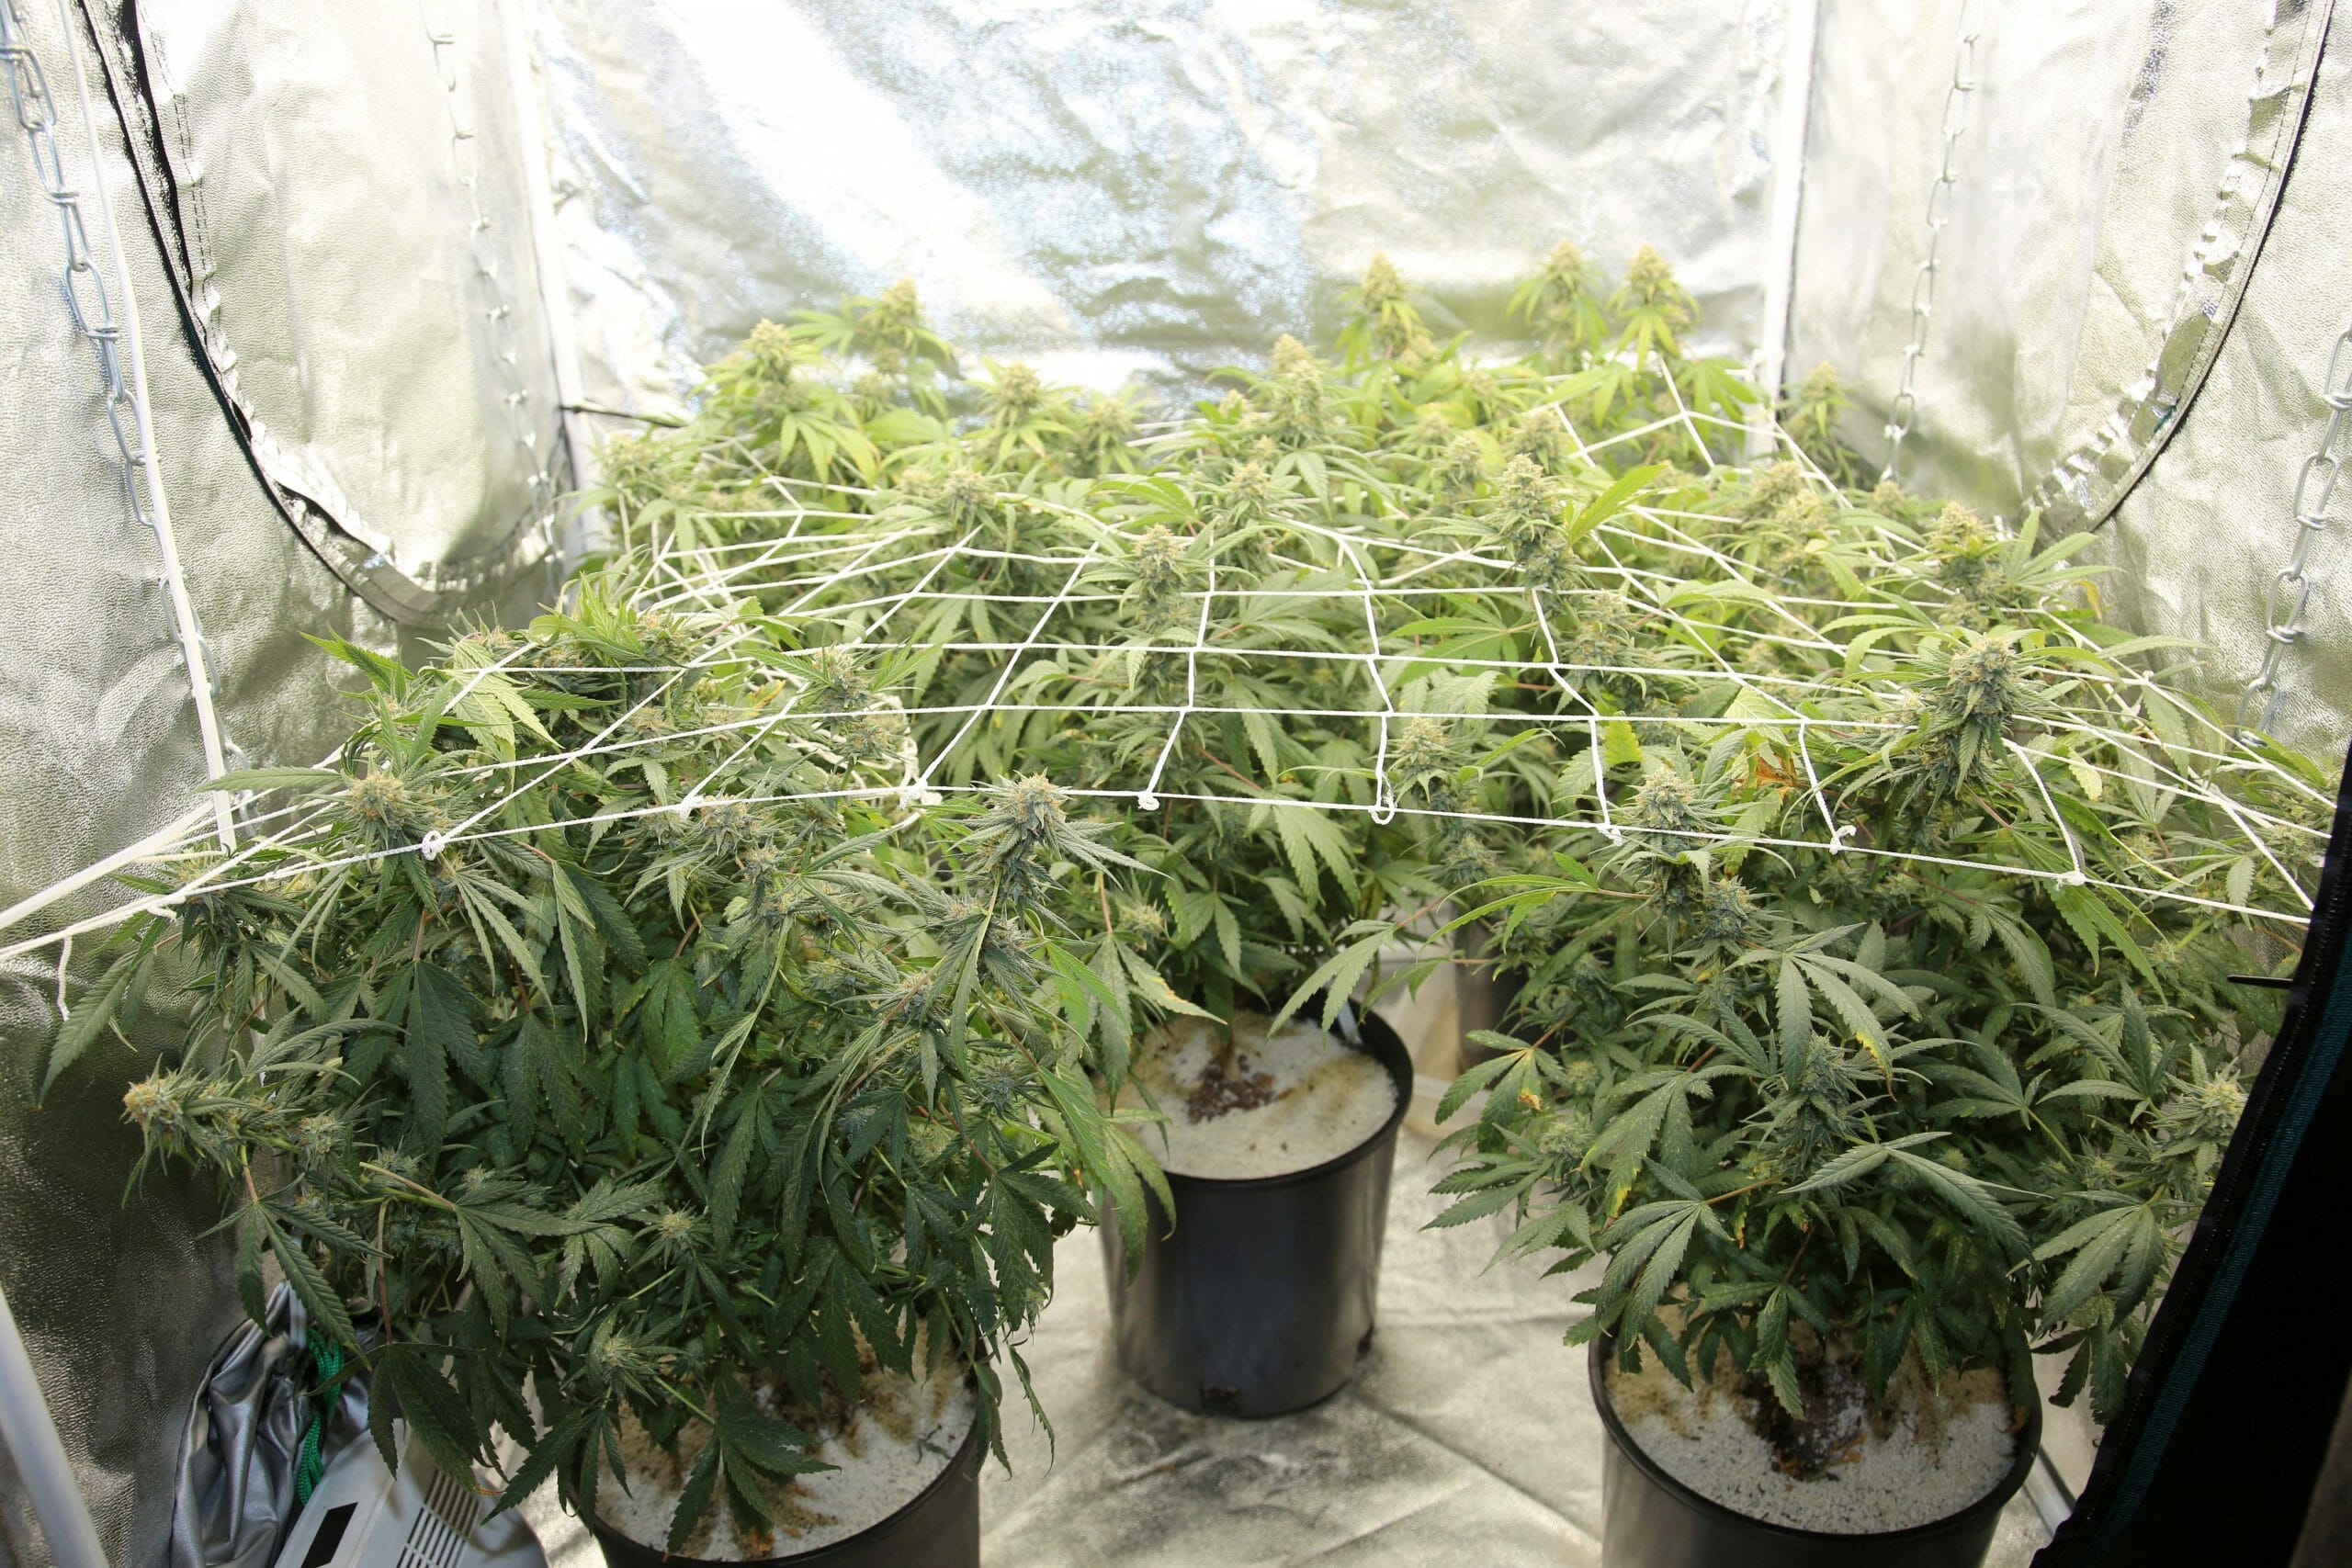


You can conveniently grow your marijuana in your own backyard using a Marijuana Grow Tent setup. However, this is not as easy as you think; it requires plenty of knowledge and skills to make one. As convenient as they are, they’re not specifically designed to produce in massive scales.
If you are someone who just wants to make it a hobby, creating your marijuana tent will suffice your cravings for some daily dose of cannabis goodness. Luckily for you, we are going to comprehensively list everything you need to consider when making a grow tent and guide you on how to make one! Let’s get started!
Growing your cannabis in tents is a stealthy way of cultivation. These grow tents are especially designed to keep things simpler for cannabis growers. Although these aren’t for big harvests, these are the best choice for growers looking to produce 1 to 5 ounces a month only.
Grow tents are cheap. Building your own marijuana tent is relatively cheap, although it varies with how you want your setup to be.
Quick and Easy Set Up setting up your grow tent is easy. It doesn’t require a lot of tools and assembling it can often take just one whole afternoon. It’s just like setting up a normal camping tent, except that weed comes out of it a few months later.
Secrecy–a good marijuana tent setup secures the light and smell from escaping. They can be easily tucked away inside the comforts of your home without necessarily getting too much attention from your neighbors.
Continuous Harvest–having a marijuana grow tent gives you the luxury of providing a perpetual harvest. You also have the option to have separate tents for flowering and vegetative chambers. Tents create an environment that is self-enclosed.
Prevents pests–holes in most common grow tent setups are covered in mesh materials. Through this, spiders, bugs, and other insects are prevented from attacking your plants. Also, an excellent grow tent setup with strong light emits high heat and is totally unlivable for common pests.
Cleaner buds–besides preventing certain pests from entering your cannabis plants, the mesh intake also helps filter out specks of dust and other impurities that may affect your plants.
Before setting up, it is important to have all the necessary equipment first. However, not all equipment are important. Here are the essential supplies needed:
Refer to these tips on how to set up your grow lights:
First, you want your grow lights to be positioned near your marijuana plants without burning/bleaching them. Plants near to a constant source of light will result in buds with high-quality attributes.
How close “too close” is depends on:
Moreover, your grow lights should reach all of your plants. This will be efficient in the long run. As stated above, a good grow light will yield great quality buds, thus, impacting your overall outcome in a positive way.
Also, the higher the wattage of your light is, the more it generates heat and intensity. This means that you have to distance your lights from your plants.
Lastly, LED lights generate less heat and intensity as compared to HID. Hence, it is essential to adjust the distance of the plant depending on what type of light you are using. Lights will have a big impact on your plants, so it is best to provide some stable light.
Aside from providing a stable light, properly setting up your grow tent ventilation is extremely important, too. Plants need a constant supply of oxygen and a little bit of CO2. Not only do they need that, but also, they need a regulated temperature inside the tent. Too much heat will burn them, and too much cold will cause molds to build up.
First, it is essential for your exhaust fan to be positioned at the opposite side of your intake. This makes a free-flowing air wherein once it enters the tent, it flows through the exit. This will result in a good airflow that constantly provides your plants with plenty of fresh air.
Another important tip to remember is to place your exhaust fans at the top of your grow tent; in this way, when hot air rises, they can be easily filtered out. But, if you are going for a passive intake hole, it is wise to make your intake holes 3 times the surface area of your exhaust fan. In this way, you are maximizing the airflow and no heat remains static for long.
Lastly, be sure not to directly point your fans toward your plants. Always place them higher or point them upwards where they could still be utilized. Fans blowing too hard and directly on your plants will cause windburn, a condition that dries up the leaves of the plants caused by the loss of water triggered by strong winds.
Carbon filters help you avoid unwanted smells/odors from being stagnant inside your tent. The best way to deal with these odors is having your carbon filter placed in the intake of your exhaust fan; in this way, unwanted smells are being sucked away immediately. It is one of the most foolproof ways. This is convenient if you have a big, grow space.
For people using an air-cooled tent, you can connect your carbon filter to the light and the exhaust fan. This is called a complete exhaust system.
Moreover, whatever you choose between the two, they only serve one purpose, and that is to eliminate unwanted smells from being static inside. It is important for the unwanted air to pass through the carbon filter.
When water and electricity are used in one area, there are risks involved. So, the cardinal rule when it comes to the two is never let your electrical wires stay on the floor. In this way, you limit the risk of being electrocuted.
One way to do this is having zip ties and bundle them together; in this way, they are more tidy-looking. Zip ties are known to hold most electric cables without problems. It is important to keep them off the floor at all times.
To give your plant an abundant source of light, always position them at the center of your grow tent. In this way, the light can cover almost all of your plant and penetrate the entire tent. Limit placing your pots at the borders of your tent; it may be difficult for your grow lights to reach them.
Setting up all the necessary equipment might be taxing for some, but always remember that you are doing this for your hobby. The start of your marijuana journey should be the hardest part, but once you reap the rewards, you will definitely feel fulfilled in the end.
Always remember that having your very own grow tent setup works wonders in your favor. Cultivating a cannabis plant in the comforts of your home was never this easy!


Best Selling
Feminized Seeds
Regular Seeds
Customer Help
WE SELL MARIJUANA SEEDS IN THE USA

Are You 18 Or Over?
YesOr
No By clicking yes, you certify that you are over 18. By using this website, you agree to our legal disclaimer.
4 Responses
Bought 5 seeds, only 2 made it, contacted crop king and they sent me 5 more and 4 of 5 popped 😊😊😊 excellent service
The best grow light is the ipower grow light
Home Depot has plastic shelves you can stack up to at least 5 feet, buy two. I pushed them apart a bit to give me a working path between them and a plywood roof and with that I hang hhoks & chains from the top to hold lights. I got fairly thick white plastic wrap on Amazon to wrap around and make a door flap. I bought some white duct tape to hold stuff together. I bought plastic storage trays to set the planters in. I have a small heater on low in planting area and run a rotating fan for air.
Simple, cheap and it works great.
How much gm. Of bud u get from single seed ?