
Cultivating regular cannabis isn’t that difficult. There are lots of tutorials and guides available in today’s time. In the simplest form possible, all you need is soil, a pot, and a seed. That’s it! But for some particular strains, this might not be the case, especially if you want to grow popular marijuana strains, or just want to produce high-grade marijuana.
For others, growing marijuana might just be as difficult as growing other plants. Having access to a good marijuana guide could help you improve the outcome of your buds and flowers.
In this article, we’ve listed a comprehensive guide not only for beginners, but for experts as well, on how to cultivate regular cannabis. This guide will help you explore the best ways on how to grow your cannabis depending on your situation.
You can either grow your cannabis indoors or outdoors. For your marijuana plants to flourish, they need the following:
- Light– Whether you plant indoors or outdoors, plants need light for photosynthesis and their overall health. A substantial amount of stable light will give you better yields.
- Air– A growing setup with proper ventilation will prevent molds and other diseases from forming.
- Growing Medium– this is the part where your Marijuana plants grow. Soil is a popular choice!
- Nutrients– Many sellers of formulated water can be incorporated daily to your plants. The other option you have is to compost your soil beforehand; in this way, there’s already an abundance of nutrients.
- Temperature– Always regulate the temperature and take note of the climate that you live in. Although cannabis plants are adaptable, they are prone to harsh weather conditions.
- Water– Like most living species in this world, we all need water to live.
Step 1: What is your preferred growing set up?
Indoor Growing
Growing indoors provides a good sense of control over your plants. Also, growing Indoors is more private than outdoor cultivation. Depending on your setup, indoor cultivation can be cheap or expensive. It varies how many plants you are trying to grow.
Having more control of your plant means producing dank buds. These dank buds are high-quality cannabis products. Producing high-quality buds comes with a lot of responsibility. Plants are more reliant with you than they are in an outdoor cultivation; they heavily rely on the care and attention you give them. But, if you provide them with everything, they will flourish!
You can grow marijuana plants almost anywhere in your home if you plan on just planting a few ones. The bigger the space, the more marijuanas you can plant. When you want to plant marijuana indoors, you should provide them with proper light cycles and ventilation. In this way, the abundance of light will give you more compact buds, and proper ventilation will prevent molds from forming in your buds.
Outdoor Growing
Growing marijuana plants outdoors is cheaper; marijuanas only rely on Sunlight to be healthy, plus a good amount of TLC from the growers. The only disadvantages when growing Marijuana outdoors are privacy and the climate. Marijuana plants are eye-catching. You may encounter people trying to steal your cannabis, unwanted visitors, or just pests.
Climate also plays a crucial role in marijuanas’ lives; marijuanas are vulnerable to unforgiving conditions. So, you have to thank the Sun because it is the one who does the heavy-lifting in your marijuana’s life.
Keep in mind the climate you live in—what’s hot for you is hot for them too. However, they are highly adaptable. If you find them dry, water them; if it is raining, protect them from flooding.
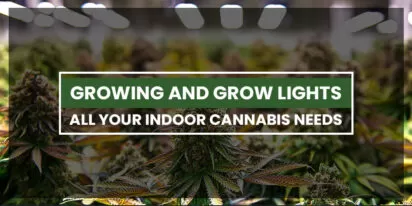
Step 2: Choose your light source.
For outdoor cultivation, all you need is a daily dose of sunlight exposure. This is the reason why it is ideal for beginners and experts to grow their marijuana outdoors; the light is provided already. We highly recommend your plants to have 8 hours or more of daylight exposure.
For indoor cultivation, you’ll have to deal with various types of light because the Sun is not provided indoors. Compact fluorescent lights are mainly used to light up our homes; they aren’t beneficial for growing purposes due to the area they can cover. Fluorescent lights are the ideal choice when growing indoors; they cover a lot of ground for your plants, especially in the borders of your grow space.
Also, fluorescent lights are cheap and cost-effective. There are tons of options for your grow lights, there are these LEC, or Light-emitting Ceramic which are also good for growing, and there are LED grow lights too. They are quite expensive when you compare them with their counterparts. However, they are specifically made for growing plants and cannabis. This may be the best choice if you have the budget. But for people on tight budgets, CFL or Fluorescent lights will do.
Step 3: Select your Growing Medium
Providing the best soil medium will be a huge factor to the overall health of your cannabis plants. Although there are many varieties of soil medium, we highly recommend soil compost. It’s a cheaper alternative, and you can do this before you set up your grow space.
Marijuana plants grown on compost soil relatively give you greater results. Also, it’s pretty cheap and cost-effective. For growers having an extra budget, providing them with pre-made mixes will do wonders. They aren’t as pricey as everybody thinks. They are supplemented soils perfect for your marijuana plants. As long as you provide your marijuana plants with nutrient-rich soil, you’re off to a good start!
Step 4: Nutrients and pH Level
For soil growers who aren’t growing their Marijuana in composted soil, it is important to provide cannabis nutrients that were made for soil; this is to make sure that your plants produce at their very best.
It is essential to take into account the pH level in your roots to prevent nutrient deficiency. The best way to do this is by checking the acidity of your water through a pH kit. For soil growers, the safest levels should be around 6.0 to 7.0. Monitoring and maintaining the pH level is a must.
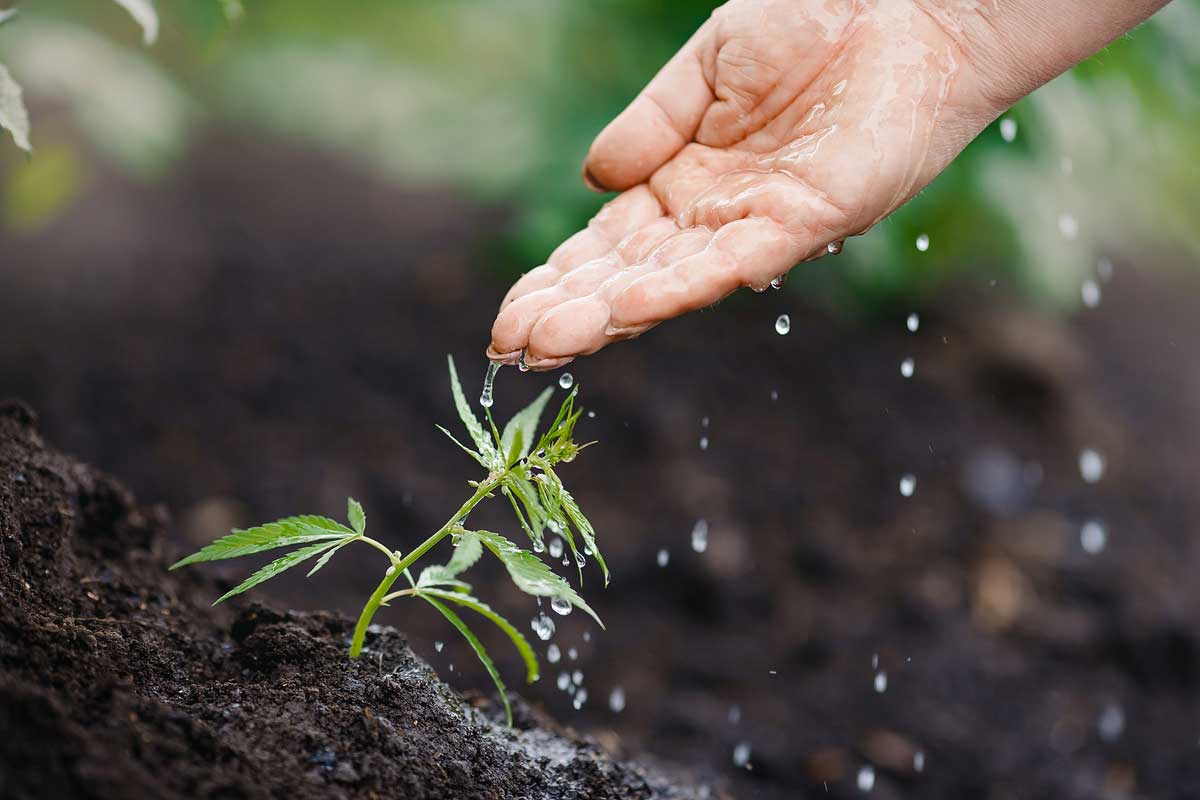
Step 5: It’s about time to get your Marijuana seeds/plants!
For those people lucky enough to have friends or relatives growing marijuana, getting a piece of their collection won’t hurt. However, for unlucky people, there are marijuana seed banks scattered all over the world. Their products are relatively cheap, and most growers should afford them. There are a lot of reputable seed banks to choose from; you just have to do your research in finding the right seeds for you!
Buying the right marijuana will prove beneficial in the overall outcome of your project. It’s a great advantage knowing you have the best quality of seeds to start with.
Step 6: Germinating your Seeds
If you are lucky enough to ask for a Marijuana plant from your friend/relative, you can skip this one.
For people who have marijuana seeds, the easiest way to germinate them is through the Paper Towel Method. You need to simply wet your paper towel, put the seeds inside, and fold the towel. After that, enclose them in 2 plates and place them in a safe and secluded area to avoid contact with unwanted visitors.
You will only need a paper towel, 2 plates, water, seeds, and a place to sprout your seeds.
Step 7: Vegetative Phase
Once your plants grow their first leaves, they have already reached the vegetative stage. This is the most thrilling part. This is the stage where they grow fast, especially when you set warmer temperatures similar to a room temperature—around 20°C to 30°C.
In this stage, your plant only does one thing—they keep GROWING! However, they are not forming flowers and buds yet. Don’t get too excited!
If you are feeding your plant with nutrients, start only at 50%. When they exhibit poor leaf quality, it might be time to provide them with sufficient nutrients and water. Once they grow vigorously, up the nutrients supply to 75%. Always remember to not overfeed them. Too much of a good thing is a detrimental factor to their growth.
Step 8: Flowering Phase
This is the part where it gets very exciting! Your plants will start to grow flowers and buds until the harvest period! However, during this stage, you need to do the following:
- Change to a 12/12 light cycle.
- Determine which ones are female or male.
- Toss out all males!
Light for Indoors
You have to change into a 12/12 light cycle. By this, the plant should have 12 hours of darkness and 12 hours of light; this will trigger your marijuana to blossom!
For Outdoors
You don’t have to change anything. Your marijuana plants will naturally flower.
For people growing regular seeds, sadly, half of your plants will be male. Male plants don’t develop buds as female plants do. So, it is important to throw them away to avoid pollinating other female plants.
When a female plant is pollinated by a male plant, it diverts its attention from making potent buds to focusing on having seeds. This results in poor quality buds.
To determine which is which, female plants exhibit wispy white hairs on the top of their branch joints. These are called pistils that form around the calyxes of female plants. They are easily distinguishable. Male plants are easily distinguishable as they start growing pollen sacs which look like balls when you observe them.
Step 9: Now is the time for harvest!
When you notice that your female plants’ white hairs have darkened/mostly darkened or stop growing buds, this is the right time to harvest them. By this time, the buds should be aromatic enough.
Step 10: The Final Step! Curing your New buds!
After you’ve cut out all the unnecessary parts of your newly harvested buds, it is about time to dry them out. In doing so, you must dry them upside down in a cool and dark place. We recommend having a room with proper ventilation to accelerate the drying process!
Once they are dried out, it is now time to cure them. In curing, you need to put them in tightly-secured jars in a dark place. Curing them will intensify their effects and will make them taste and smell good.
You have to open the jars daily for the next 2 weeks in order to release moisture and for your buds to breathe fresh air! After your cannabis is cured for about two weeks, it’s time to open the lid once a week. And then you’re done!
Usually, curing depends on the users and how they want their buds to be.
Conclusion
Cultivating marijuana requires significant time and dedication to be truly successful. We hope that this guide helped you in some ways possible. Always remember that the first part is the hardest; the result will define your perseverance and hard work! Happy growing!